Requirements
To successfully install Gorelo Connect on your machine, you need:- An active Gorelo subscription.
- Gorelo Connect installed on the assets you want to monitor.
Install Gorelo Connect (technician side)
- Windows
- macOS
- On an asset with the Gorelo Connect plugin, click the ‘Connect’ button.

- You will see a small banner appear, click ‘Download’

- Install GoreloLauncher.exe (there will be two UAC prompts — one for Gorelo Launcher and one for Gorelo Connect)
- Click the ‘Connect’ button again
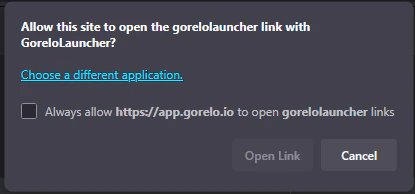
- Always allow the protocol handler to open gorelolauncher links
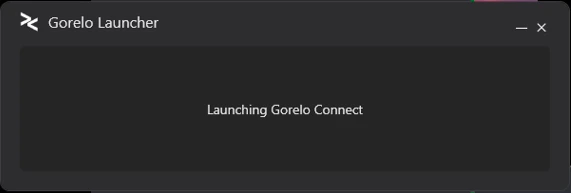
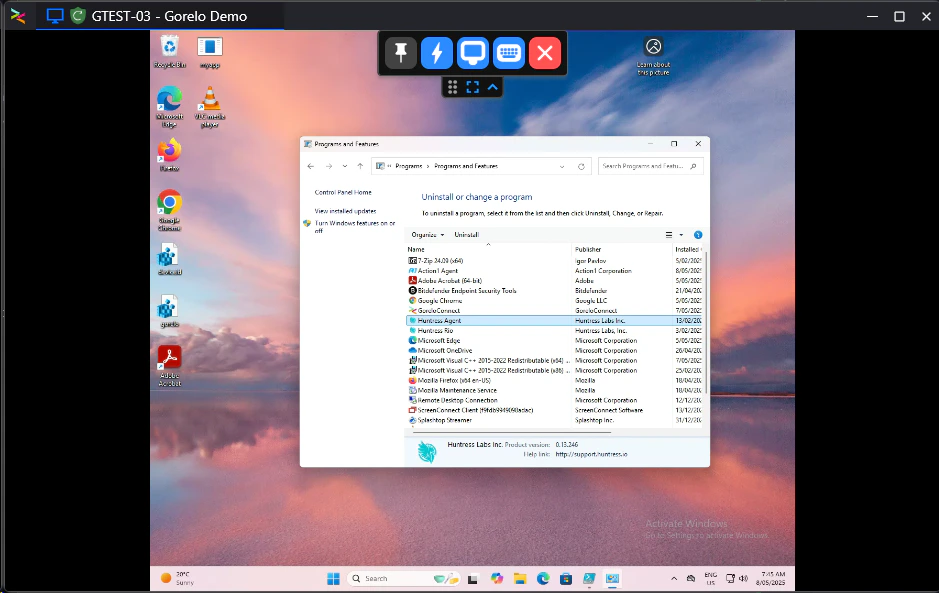
- You’ll then see the Launcher appear — followed quickly by the Gorelo Connect window
Reinstall Gorelo Connect on an asset
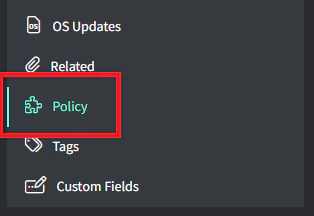
- On an asset with the Gorelo Connect plugin, click the Policy section
- On the Gorelo Connect plugin, click the ‘heart’ icon to check health

- Then click the reinstall button when it appears.
Manually add Gorelo Connect to a policy
- Navigate to Policies from the menu
- Select an existing Policy
- Hover over the ‘Add’ button up the top-right and then select ‘Plugin’
- Select ‘Gorelo Connect’ from the list
- Click ‘Save’
- Distribute the policy
Choose default remote control tool
Gorelo allows you to choose between the built-in tool or ScreenConnect as your default — all of the primary remote control buttons will then be bound to this selection.- Navigate to Settings → Assets → Settings
- Toggle between Gorelo Connect or Screenconnect
- Click ‘Update’