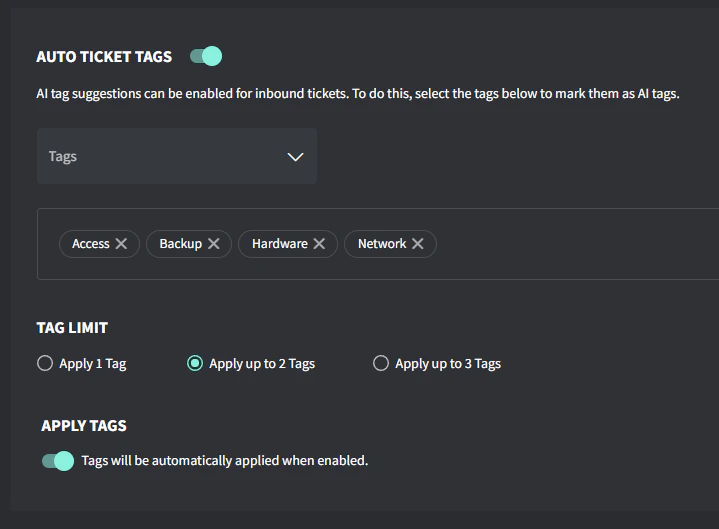
| Access | User access related requests including password resets, account creation/deletion, or permission changes. Examples: forgotten passwords, new user setup, or access denied messages. |
| Backup | Data backup and recovery related issues including failed backups, restore requests, or backup system alerts. Examples: backup failure notifications, file restore requests, or backup storage capacity issues. |
| Email | All email-related issues including Microsoft 365, Exchange, spam filtering, signatures or email client issues. Examples: cannot send/receive emails, missing emails, mailbox quota issues, or Outlook problems. |
| Mobile | Mobile device issues including phones, tablets, MDM, or mobile app problems. Examples: cannot sync email on phone, MDM enrollment issues, or mobile app failures. |
| Network | Issues related to internet connectivity, WiFi, switches, firewalls, routers, VPN connections, or network performance issues. Examples include: slow internet, cannot connect to WiFi, VPN disconnecting, or network outages. |
| Print/Scan | Issues with network printers, local printers, multi-function devices, and scanning equipment. Examples: cannot print, print quality problems, printer offline, scan failures, or driver issues. |
| Security | Security-related incidents, alerts, or requests including virus infections, suspicious activities, security policy changes, or compliance matters. Examples: virus alerts, suspicious emails, ransomware, or security policy violations. |
| Server | Issues involving physical or virtual servers, including performance problems, services not running, server hardware failures, or server maintenance. Examples: server offline, service crashes, disk space alerts, or slow server response. |
| Software | Issues with business applications, software installations, updates, Microsoft Office like Word/Excel, or licensing. Examples: application errors, software not working, update failures, or license activation issues. |
| Voice | Issues with VoIP phones, phone systems, PBX, softphones, and video conferencing. Examples: phone not registering, poor call quality, voicemail, or conference room systems. |
| Web | Issues with websites, DNS, domains, SSL certificates, and hosting. Examples: site down, certificate expired, DNS errors, or domain renewals |
| Workstation | Desktop and laptop computer issues including hardware failures, operating system problems, or performance issues. Examples: blue screens, slow computer, hardware not working, or Windows updates. |