Approvals are used when you need to reach out to a contact and have them approve something (for example, a new laptop purchase or access to a specific SharePoint site).
Individual contacts at each client can be designated as an approver by assigning them a Contact Tag that has been marked as an approver.
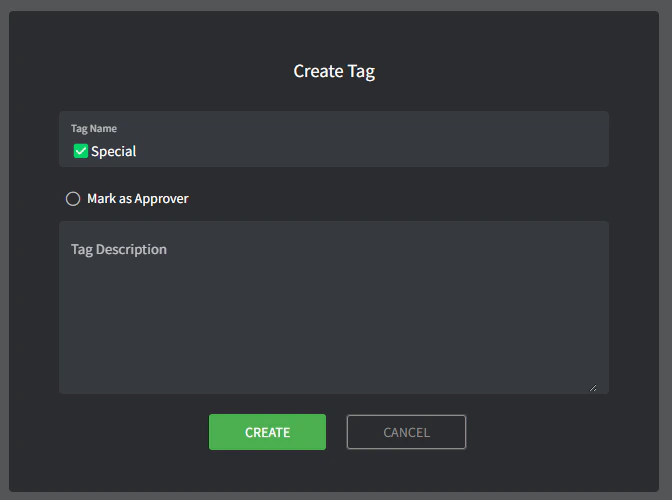
Create an Approver tag
- Navigate to Settings > Tags > Contact Tags.
- Create a Contact Tag (down the bottom).
- Name: this is the name of the tag (for example, ‘✅Special’).
- Mark as Approver: this is where you will configure it as an Approver tag, tick this box.
- Description: this is where you can describe the tag in more detail. It’s internal and only visible here.
Designate a contact as an approver
- Navigate to the Contact list.
- Click the Contact you wish to designate as an Approver.
- From the Contact Tags dropdown, select the newly created ‘✅Special’ tag.
- In the Description field, describe anything extra related to what they can/can’t approve (or leave blank), e.g., can only approve Engineering related requests.

- Click Update.
Start the approval flow
- Create or navigate to an existing ticket (make sure the client has at least one contact with an Approver tag).
- Click the + button in the timeline tab and add an Approval.

- Select one or multiple contacts that you’d like to email.
- Type the approval comment.
- Click Submit to send the email.