Form settings
Name
To change the internal name of the form:- Navigate to Forms from the menu
- Select the form on the left
- Click the edit icon to the right of the existing form name

- Change the name and click ‘Update’
Description
To change the internal description of the form:- Navigate to Forms from the menu
- Select the form on the left
- Click the edit icon to the right of the description field

- Add/change the description and click the save icon
Groups
One or more Groups can be automatically added to a ticket created via a form. You can also choose to notify those groups on ticket creation.- Navigate to Forms from the menu
- Select the form on the left
- Select the Settings tab
- Select the Group(s) you’d like to automatically apply via the dropdown
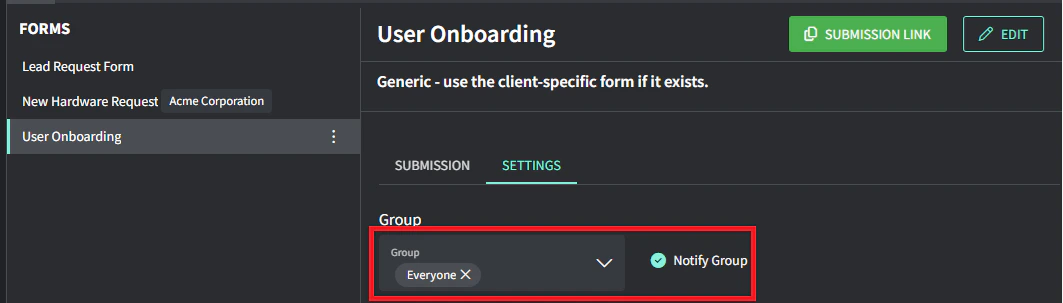
- Toggle on Notify group to generate a notification to those group members when a ticket is created via this form
- Click Save changes at the bottom
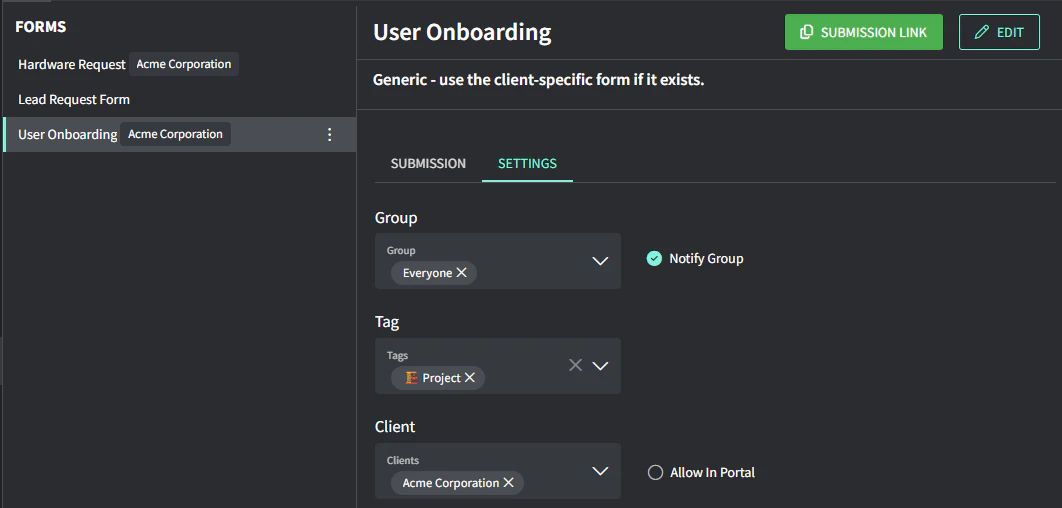
Tags
One or more Tags can be automatically added to a ticket created via a form.- Navigate to Forms from the menu
- Select the form on the left
- Select the Settings tab
- Select the tags(s) you’d like to automatically apply via the dropdown

- Click Save changes at the bottom
Clients
Forms can be set so only certain Clients have access to them. This is a great way to reduce clutter when generating a form link from an existing ticket.- Navigate to Forms from the menu
- Select the form on the left
- Select the Settings tab
- Select the tags(s) you’d like to automatically apply via the dropdown
- Click Save changes at the bottom